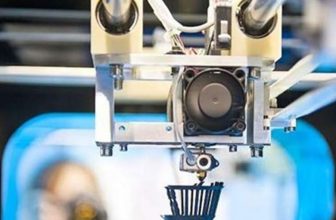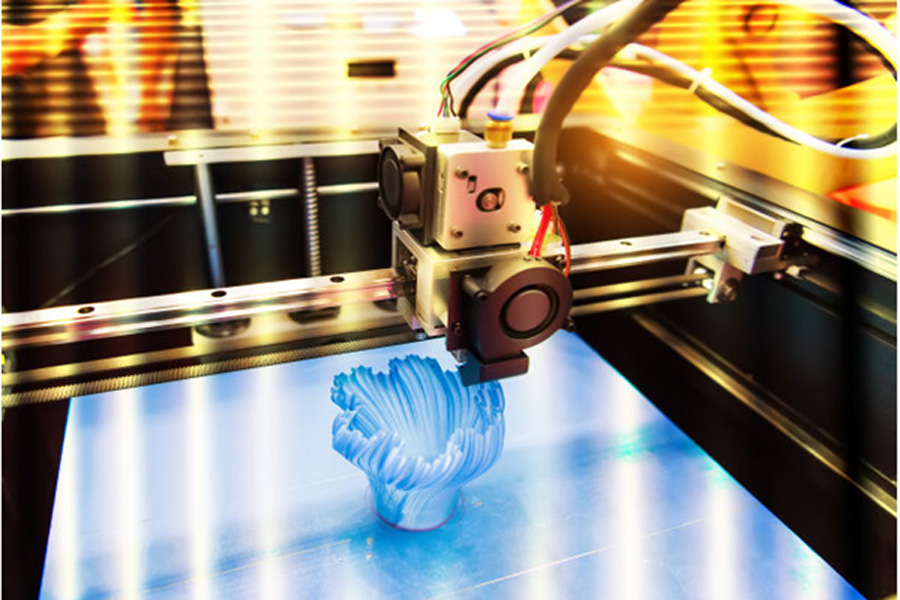
What are the problems that 3D printers often encounter when printing? How to solve it? Let’s take a look together.
After printing gradually, no consumables are extruded from the nozzle
Compared with 3D printing beginners, it is more common to have no consumables extruding from the nozzle. But the problem is relatively easy to deal with. There are 3 possibilities for nozzle extruding without consumables.
Reason ①: The interval between the nozzle and the platform is too small
If the nozzle is too close to the platform, there will be insufficient area for the consumables to be squeezed out of the nozzle. The hole at the upper end of the nozzle will always be blocked, and the consumables will not come out. An easy way to identify this kind of phenomenon is to see if the first or second layer is not extruded, but the third or fourth layer is gradually extruded normally.
Solution: To deal with this problem, it is proposed to complete the leveling operation again, so that the gap between the nozzle and the platform is in the error range.
Reason ②: the consumable slips on the extrusion gear
The internal principle of the nozzle is mainly to extrude the gear to push the wire forward or backward. The teeth on the gear bite into the wire to accurately manipulate the position of the wire. However, if you carefully observe the tooth marks on the consumables, you will find that there are no tooth marks on some small sections of the wire. This may be due to excessive consumables being shaved off by the drive gear. When this kind of phenomenon occurs, the drive gear cannot grasp the wire and drive the wire back and forth. In that case, the consumables cannot enter the nozzle and squeeze out.
Solution: To solve this problem, you can increase the nozzle temperature or reduce the printing speed.
Reason ③: the nozzle is blocked
If none of the above suggestions can solve the problem, then the nozzle may be blocked. The conditions are as follows: when the filament slips or winds; or the nozzle heat is insufficient, the filament begins to soften outside the estimated melting area.
Solution: To solve the plugging phenomenon, you need to remove the nozzle. Therefore, when you start, please contact the official to complete the operation and follow the engineer’s guidance to complete the operation.
Consumables cannot be glued to the 3D printer platform
The smooth adhesion of the first layer of the filament to the printing platform is the core of the smooth printing. The smooth construction of the first layer will directly determine whether the subsequent printing can go smoothly. It is quite common that printing consumables cannot be pasted on the printing platform.
Reason ①: The printing platform is not smoothly leveled
When the first layer cannot be printed smoothly, first you need to confirm whether the platform itself is flat, that is, whether the platform and the nozzle are relatively level. If it is not level, one side of the platform will be closer to the nozzle, and the other side will be too far away. For the first layer to be printed perfectly, a horizontal platform is required.
Solution: It is recommended to complete the leveling according to the leveling instructions on the printer.
Reason ②: The nozzle platform is too far
After the platform has been leveled, you still need to confirm whether the starting position of the nozzle and the distance between the platform and the platform are suitable. You need to position the nozzle to a suitable position from the platform, not too close or far away. You want the wire to stick to the platform lightly to get sufficient adhesion.
Solution: It is recommended to complete the leveling according to the leveling instructions on the printer.
Reason ③: the printing speed is too fast
When the nozzle prints the first layer on the platform, you expect that the first layer of consumables can be properly glued to the surface of the platform to facilitate subsequent printing of the remaining layers. If the printing speed is too fast, there may not be enough consumables to stick to the platform.
Solution: For this reason, it is very common to reduce the printing speed.
There are holes or gaps on the top layer
Reason ①: The filling rate is too low
The filling inside the print will become the foundation of the layer above it. The solid layer at the top of the print needs to be printed on this foundation. If the filling rate is very low, there will be many empty gaps in the filling. For example, you only apply a 10% fill rate, so the remaining 90% of the print will be hollow. This will result in a solid layer that needs to be printed on a particularly large hollow gap.
Solution: If you have tried to increase the number of top solid layers, and you can still see gaps at the top, it is suggested that you can try to increase the filling rate to see if the gaps will disappear. For example, if your fill rate was previously set to 30%, try using a fill rate of 50%, because of this, you can provide a better foundation to print the top solid layer.
Reason ②: Too few top layers
If the thickness of the top layer of the printed part is too small, holes or gaps are also likely to appear.
Solution: add the number of top layers in the software
Brushed
Reason: During the printing process, the nozzle of the 3D printer is in a high temperature state. When the nozzle moves to a new position, the consumables are in a liquefied state and flow out naturally.
Solution: You propose to lower the printing temperature or printing speed within the allowable range.
Model warped edges
When printing large-volume models, edge warping is easy to appear. One or more corners at the bottom of the model are cocked and cannot be horizontally adhered to the printing platform. Will cause lateral cracks in the top structure. Edge warping is a particularly common problem, which usually occurs when the first layer of plastic shrinks due to cooling. The edges of the model are thus rolled up.
Spread a thin layer of glue evenly on the printing platform of the 3D printer, paste masking paper or replace the platform sticker to increase the adhesion of the first layer of material and ensure the perfect level of the printing bed.