Because of the addition of a supporting structure, 3D printing requires a series of post-processing tasks, including: removing the model-soaking in alcohol-removing the support-air gun flushing-polishing. Let me give you a specific introduction.
It should be noted that it is best to wear gloves when handling the model. On the one hand, it avoids direct contact between the resin and the skin for a long time, and on the other hand, it also protects the opponent. Use hand sanitizer to wash hands immediately after operation.
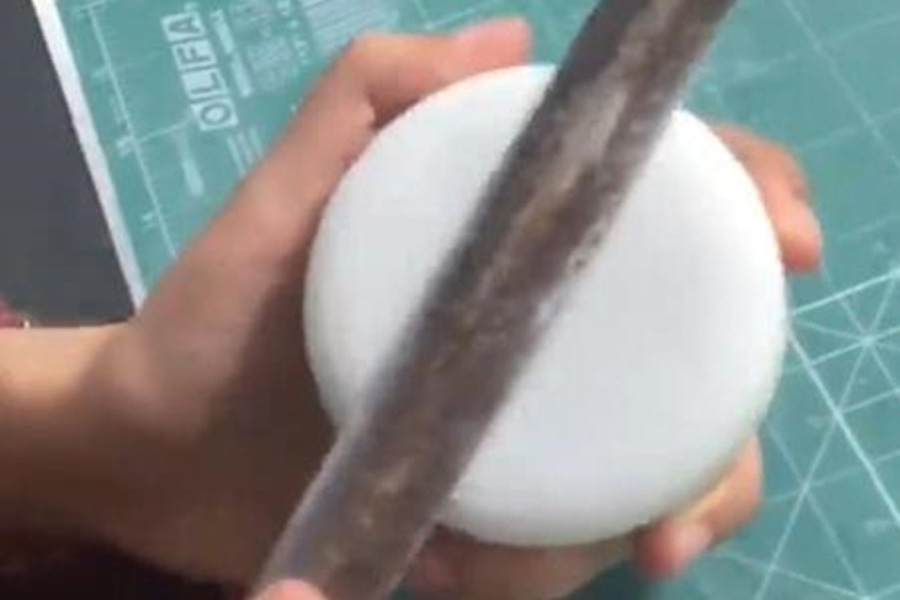
Take off the model
It takes a certain skill to remove the model, and you can’t use brute force to pry it. If a rigid resin is used, it is easy to pry off the raft, and even the support will break, damaging the surface of the model. Be patient when removing the model. Use a shovel to surround the bottom raft until you find the entry point, and then slowly go deep to separate the model from the printing platform.
Soak in alcohol
Put the removed model in alcohol and wait for the remaining liquid resin to solidify.
Remove the support
The support can be easily removed by soaking in alcohol for a while. Gaps or areas that are difficult to remove need to be removed by later polishing.
Air gun flushing
Use a high-pressure air gun to flush the model, blow off the residual alcohol and resin, and dry the model.
Polish
The purpose of polishing the model is to remove hard-to-remove supports and surface print textures. Color can only be applied after sanding and smoothing.
If you need to paint, you can spray paint to paint after fine sanding